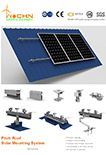
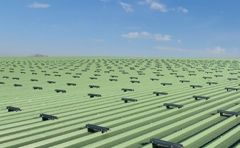
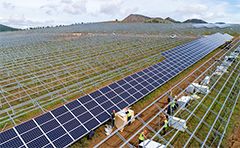
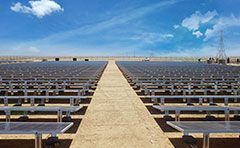
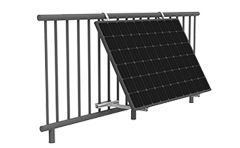
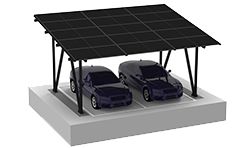
In sun-drenched Africa, WOCHN AW ground solar mounting system is winning over an increasing number of users. With their exceptional adaptability, robust structure, and convenient installation features, they are rapidly establishing a foothold in the Tanzanian market, becoming a popular choice for residential, commercial & industrial , and small-scale power plant projects.
At the request of partners, and to enable users in Tanzania and other African regions to deploy AW ground solar mounting system more quickly and standardly, this article details the installation process and key considerations for the AW PV mounting system. Follow our steps, and you too can easily build an efficient and stable solar power station.
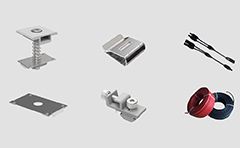
Taking the concert foundation as an example, we first confirm the location of the holes according to the drawing and then drill the holes. Then we use M12 expansion screws to fix the base.


Step 1: Component Identification & Preparation
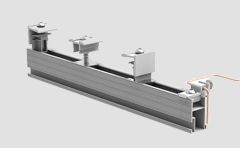
The installation team first inventoried the key components required for AW leg
1. Beam: The core load-bearing structure of the system.
2. Tubes: Four in total, used to connect the main beam and form the support frame. It's important to note that the actual length of the square tubes may be adjusted according to different installation scenarios (e.g., required angle, length).
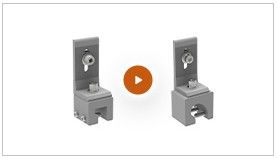
3. Transfer kits:Usually, there are transfer kits, two small and one large. They are pre-installed and fixed on the main beam before shipping, saving on-site installation time. Note that the specifications and quantity of the Transfer kit will be adjusted according to the specific solution.
4. Fasteners: Including specialized hex-head bolts, etc.

Step 2: Connecting Tubes to the Beam
We install the four tubes respectively onto the three pre-installed adapters on the beam.
Using the specified hex-head bolts, securely fasten each square tube to the adapters one by one.
Repeat this step until all four square tubes are accurately and securely installed.


Step 3: Installing AW leg onto the Base
After completing the main frame assembly, we also install the AW LEG onto the base according to the drawing , securing it with the corresponding fasteners.


Step 4: Installing the Rail System
We take the 9# rails and place them onto the frame.
Position and secure each end of the rail using Rail fix kits. Repeat this installation step to securely fasten each 9 # rail onto the support structure.